How to setup cPanel after getting a VPS Automation
cPanel is popular Linux-based web hosting control panel. It provides a graphical user interface to easily manage and host multiple websites on a single Virtual Private Server (VPS) or dedicated server. You can perform anumber of tasks (uploading files, creating emails, setting cron jobs, handling databases, etc.) using this tool.
cPanel provides a user-level access interface where users can manage their web hosting. WHM (Web Host Manager) provides a root and reseller level access interface where users can manage settings related to server administration and account management.
With the cPanel license activated by our Engineer, you may proceed to update the IP in control panel for cPanel accounts.
Updating the IP address in the Control Panel
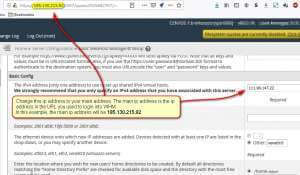
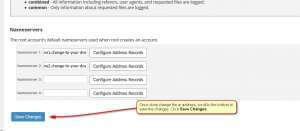
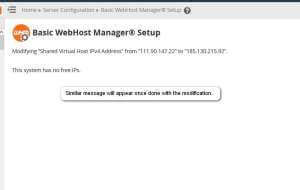
Follow the steps below to change the IP for the WHM/cPanel:
Firstly, log into the WHM panel using this address: https://new_server_ip:2087
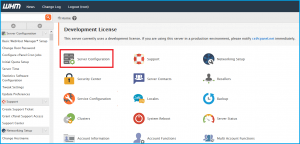
Secondly, go to Home >> Main >> Sever Configuration >> Basic cPanel and WHM setup menu and click on All Tab.


We hope this article helped you to learn about how to setup cPanel in VPS automation. For more articles, please go to Knowledge Base.


